You can use SuperSonic to accept your coupons on SuperSonic. However, you will need to add them to your register as if they were products. Additionally, you will need to set up a department for it.
Here is how:
First, we are going to go Store Management > Departments in the Back Office.
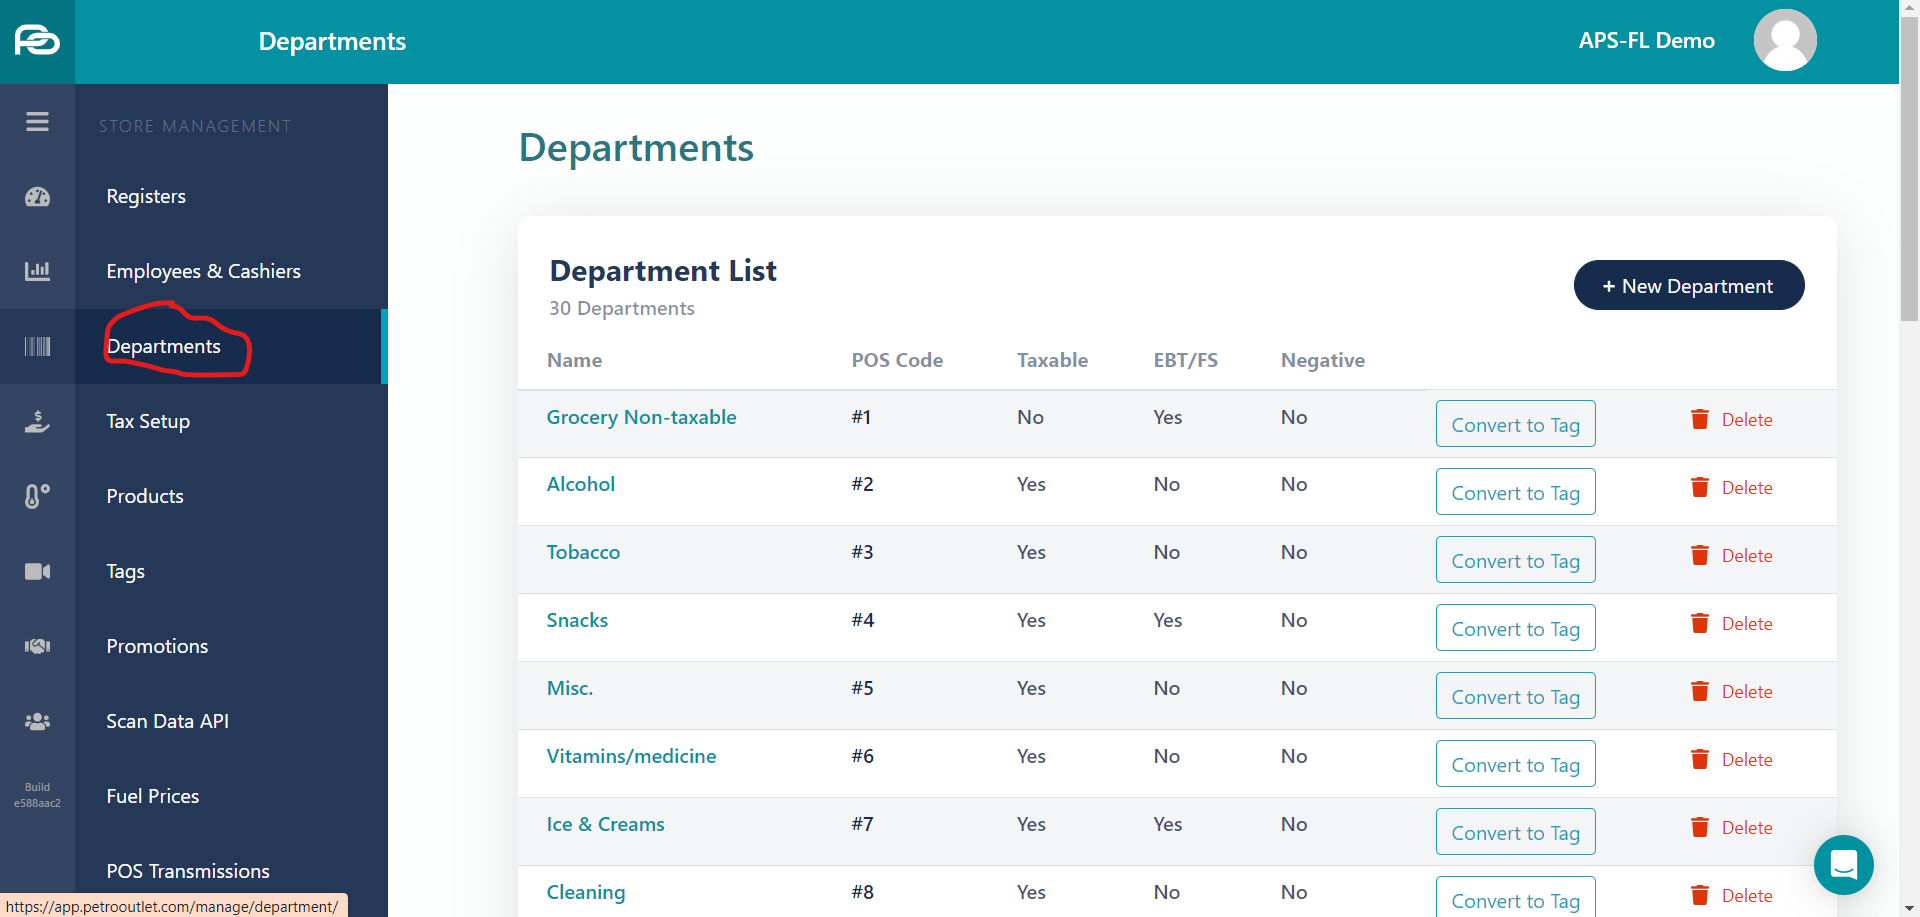
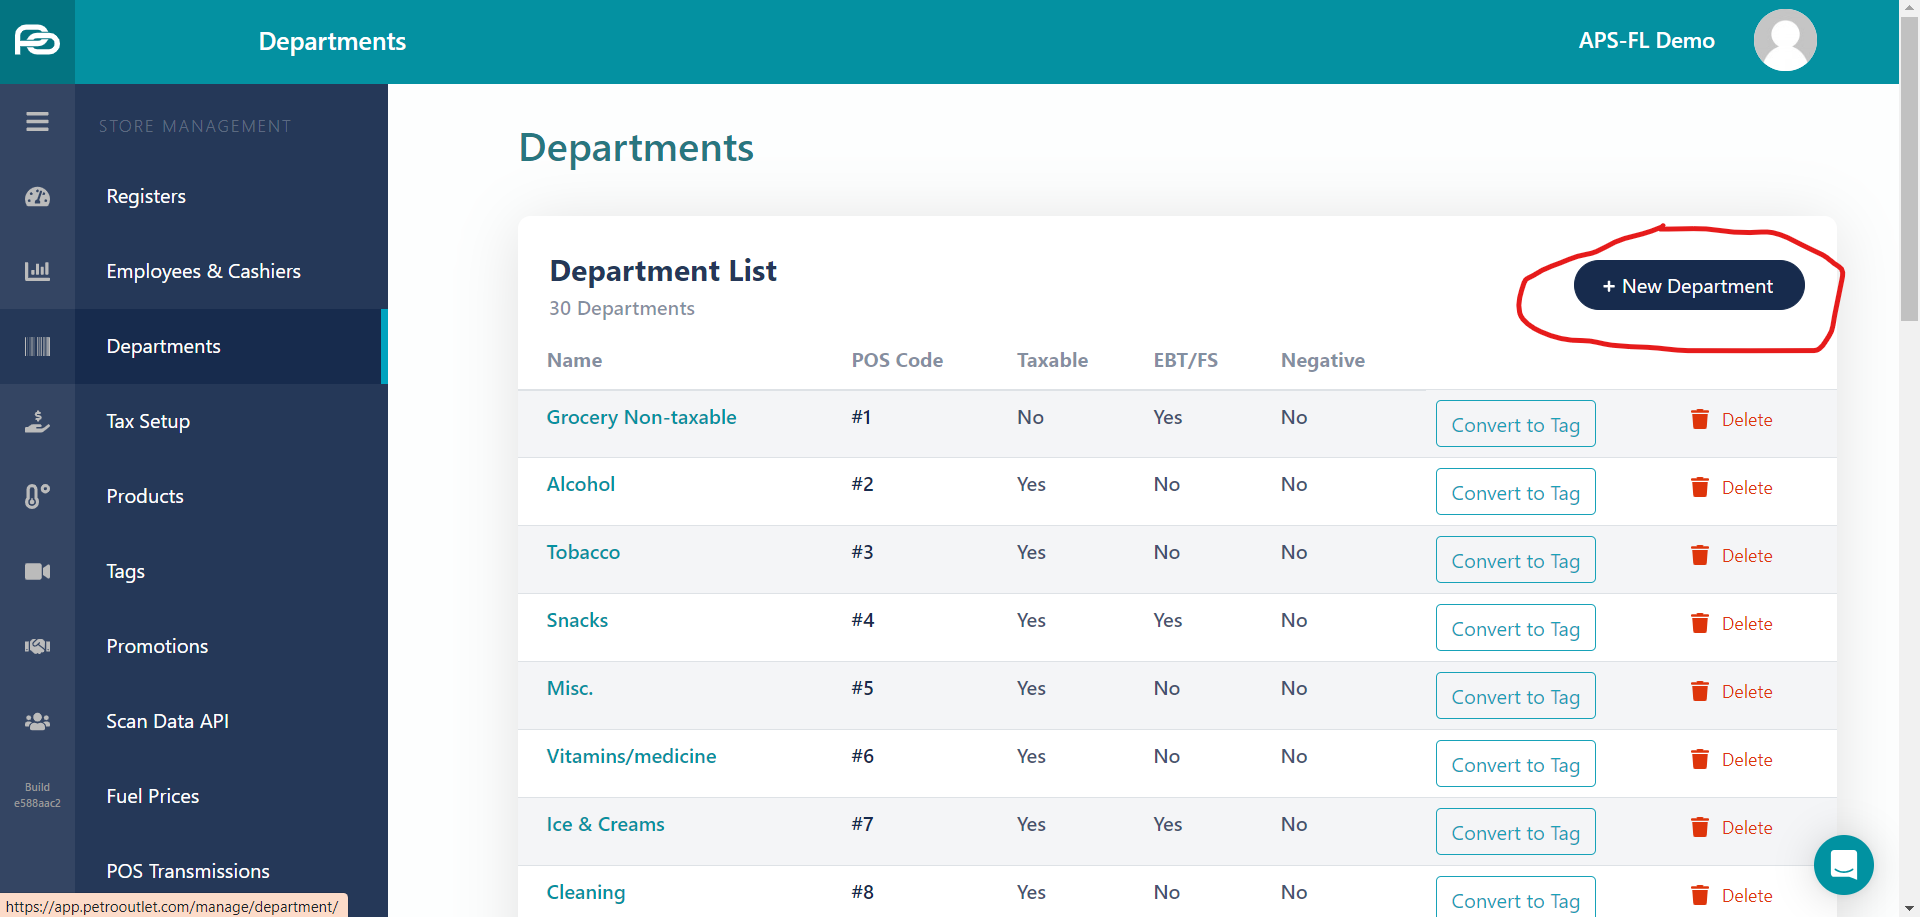
Then select New Department
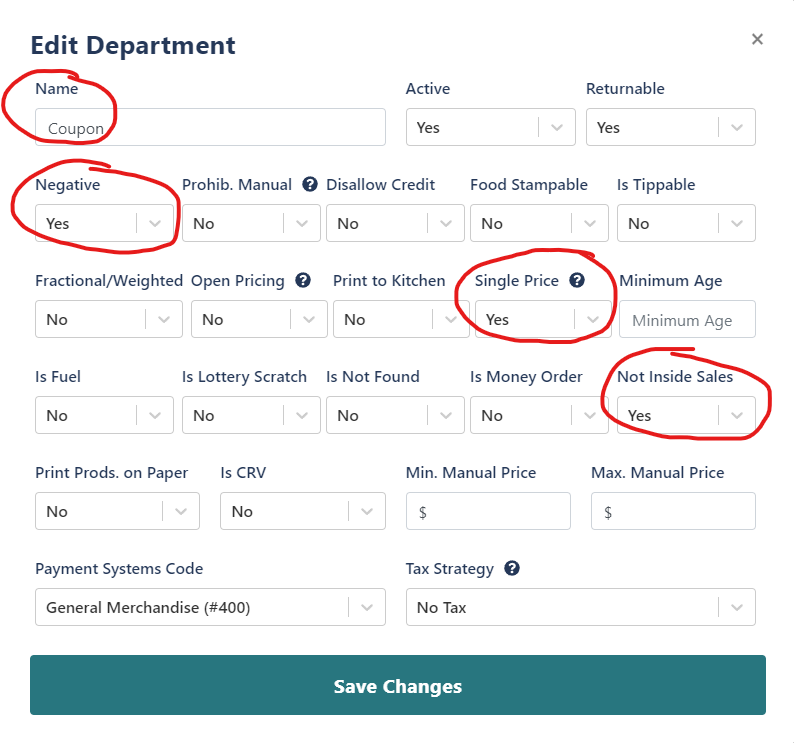
Enter the Name (Coupon), select Yes for Negative, select yes for 'Single Price', and 'yes' for Inside Sales, then click Save Changes.
Now, we can create our coupon products. You can skip this step if you would prefer to ring up the price of the coupon and select the 'Coupon' button on your POS, or you can edit the basket with a % discount. If you would like to do that, skip this part and go to the part where we add the Coupon button to the POS Screen.
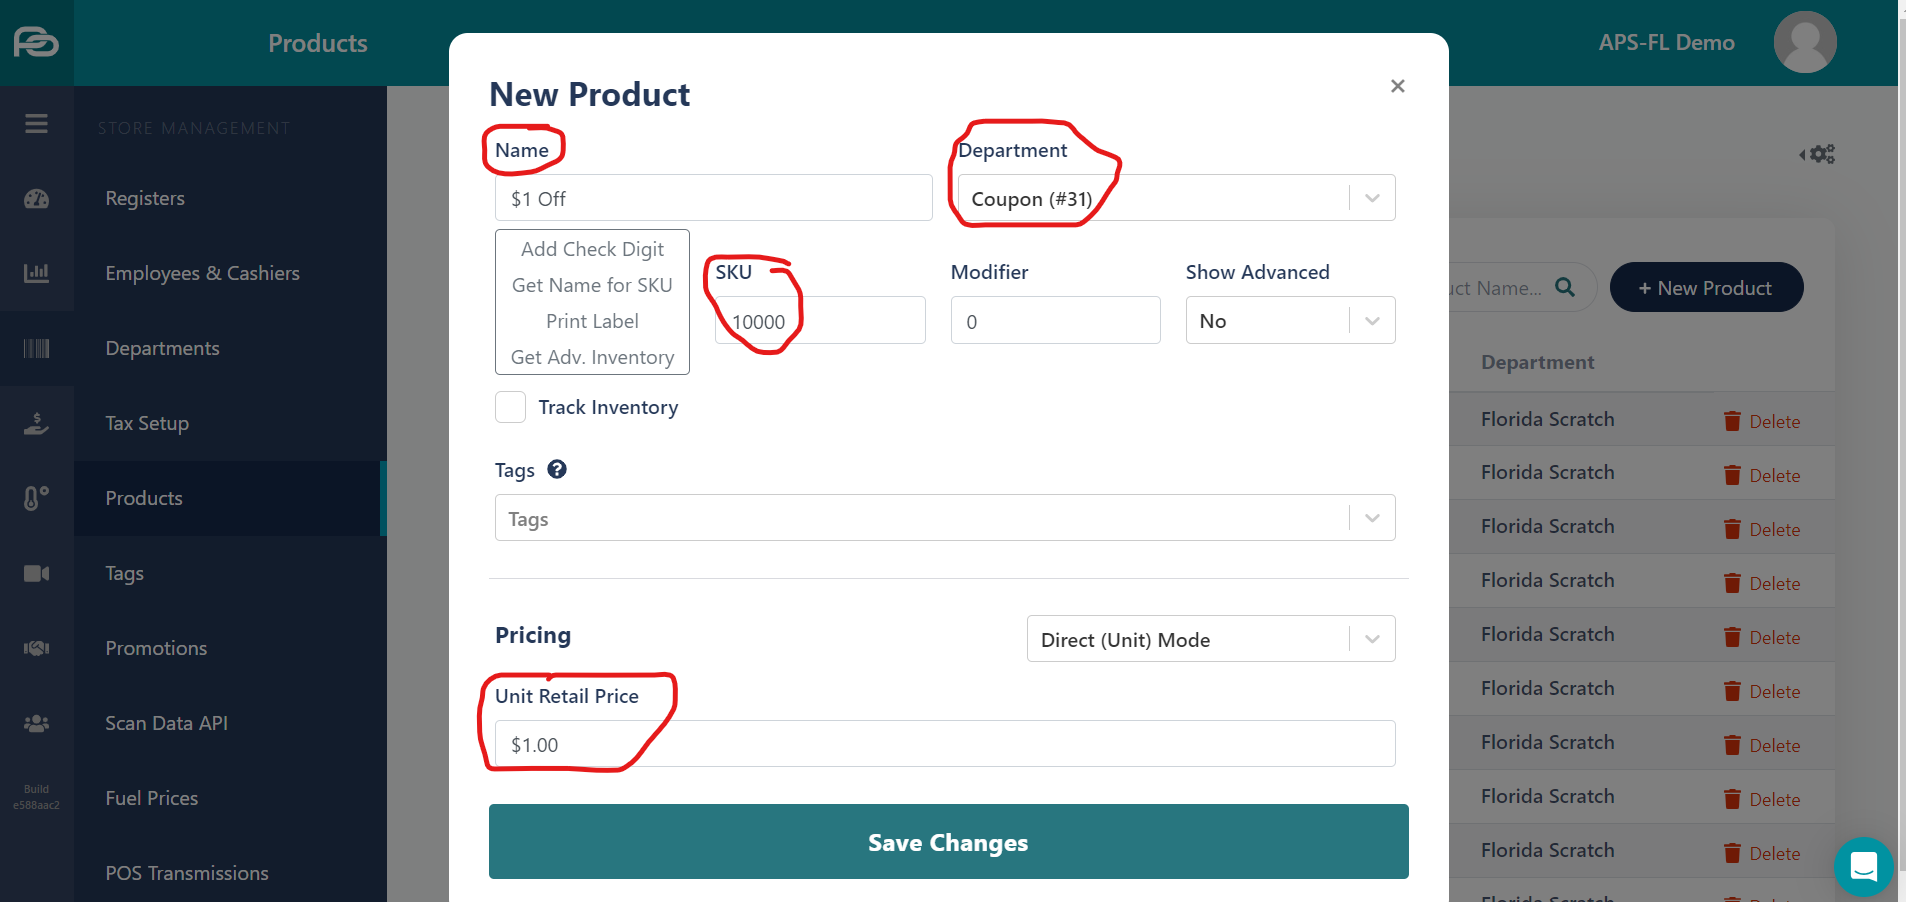
If you want to have coupon products that you can scan in, then go to Products and select New Product
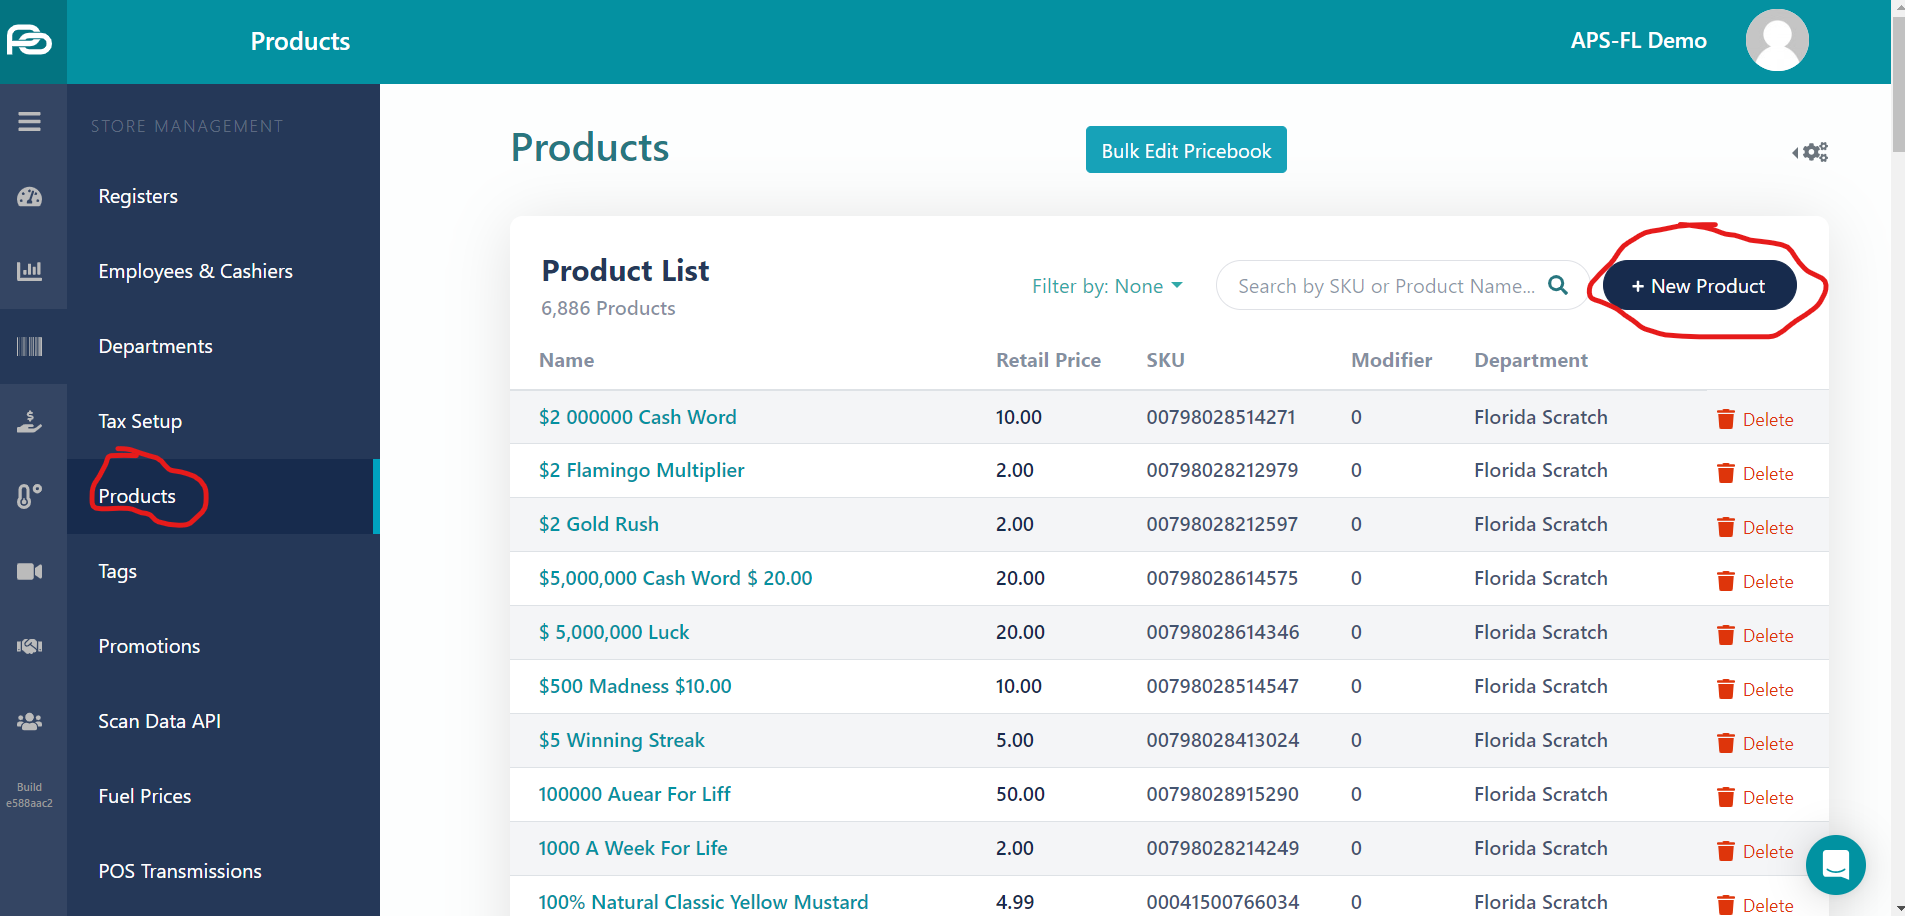
Enter the name, department (Coupon), SKU, and price of the coupon. Then click save changes.
After you've added the coupons and the department, you are done. If you are a gas station, make sure to send a POS Transmisson!

If you want to add the Coupon department as a button your POS screen, here is how:
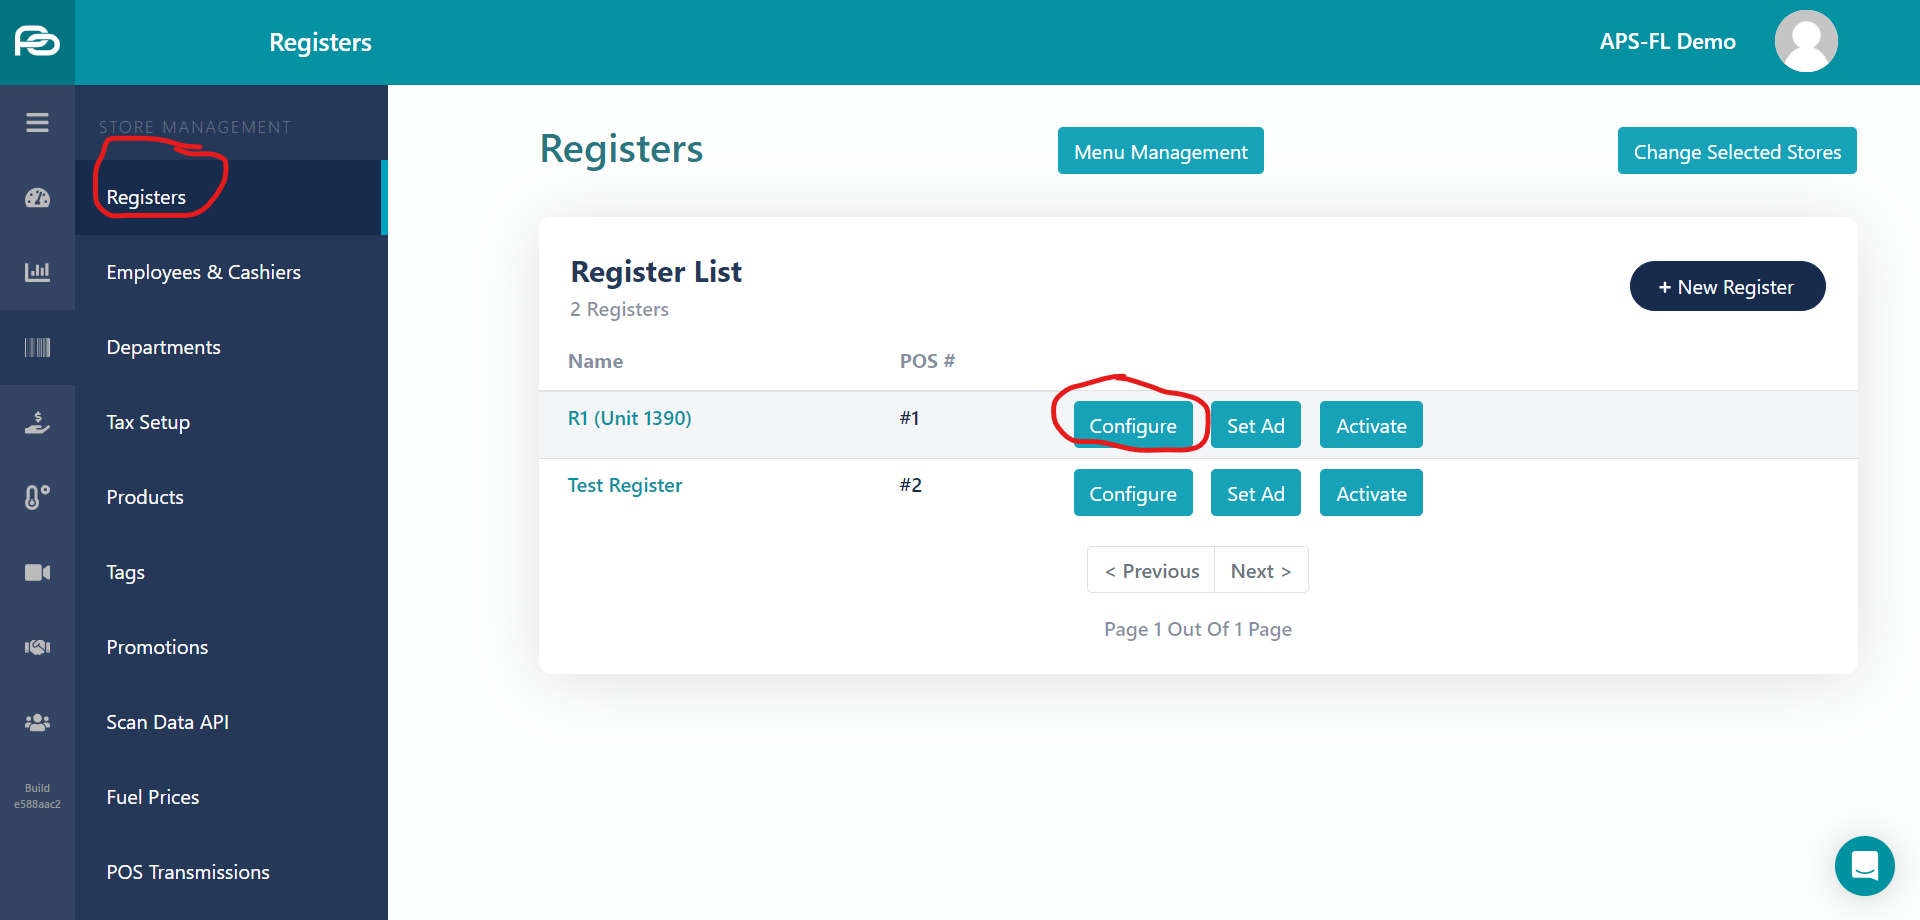
Go to Registers and select Configure
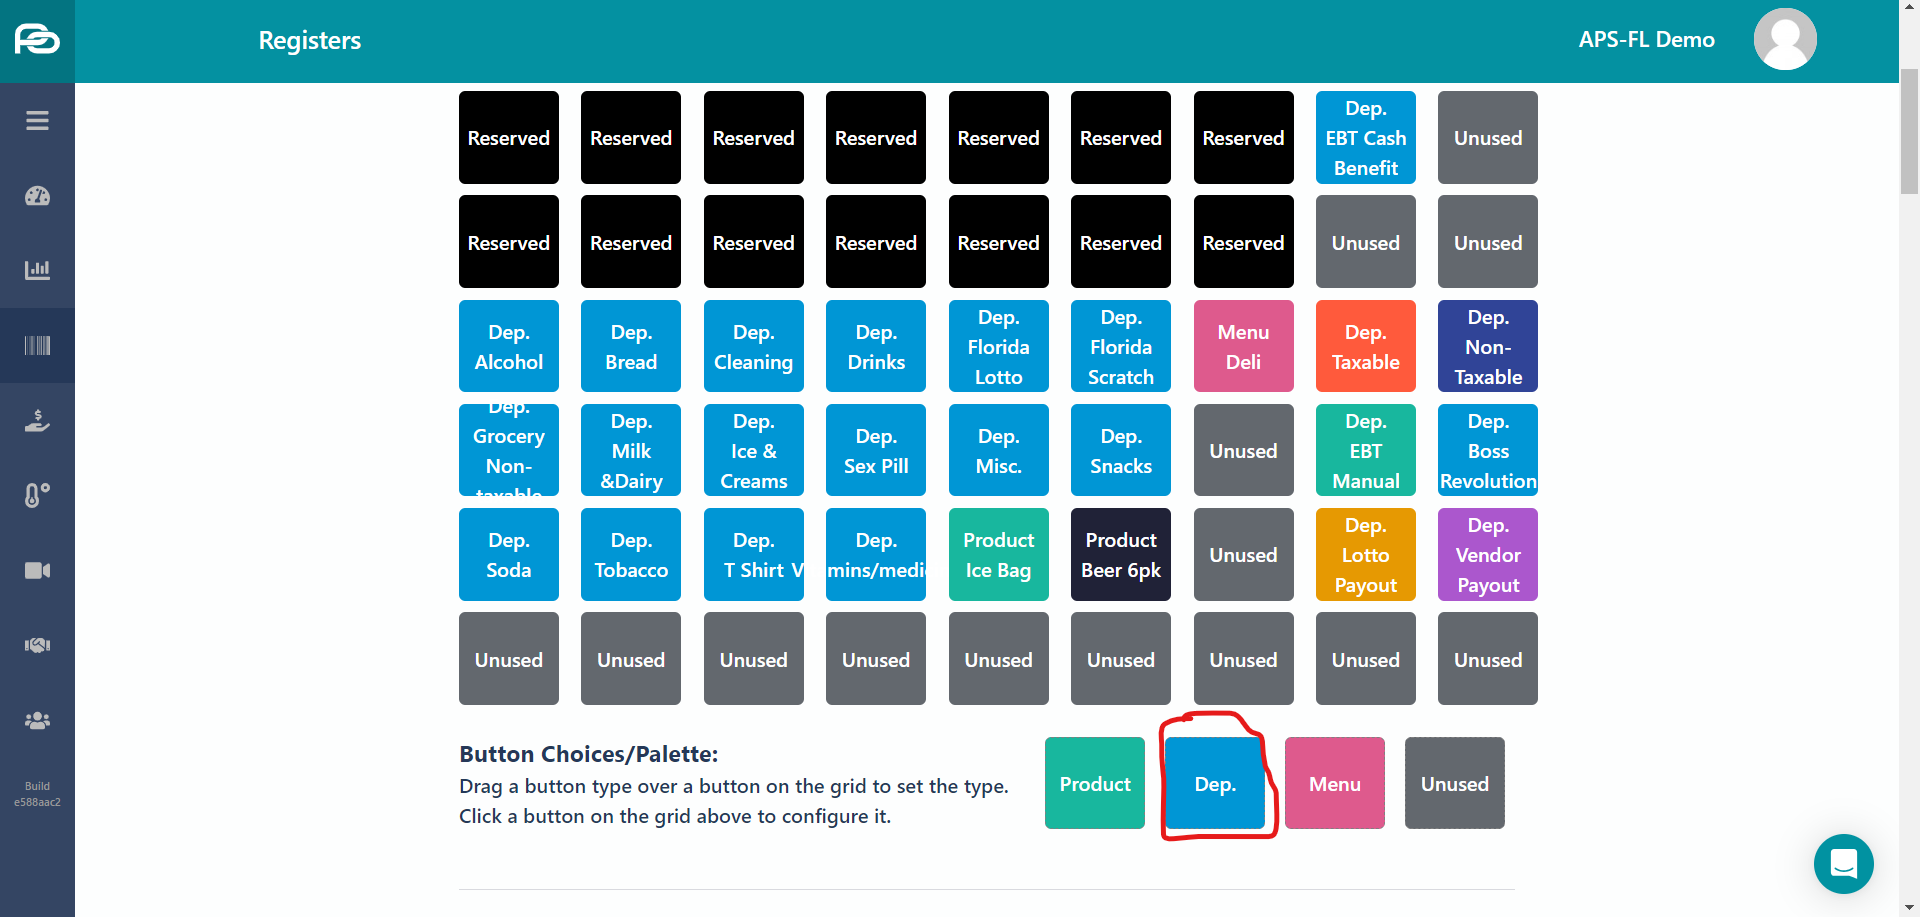
'Then Drag the Department button to an a slot on the screen that says 'Unused'
Select the Department 'Coupon', then choose the color you would like, and click save changes.
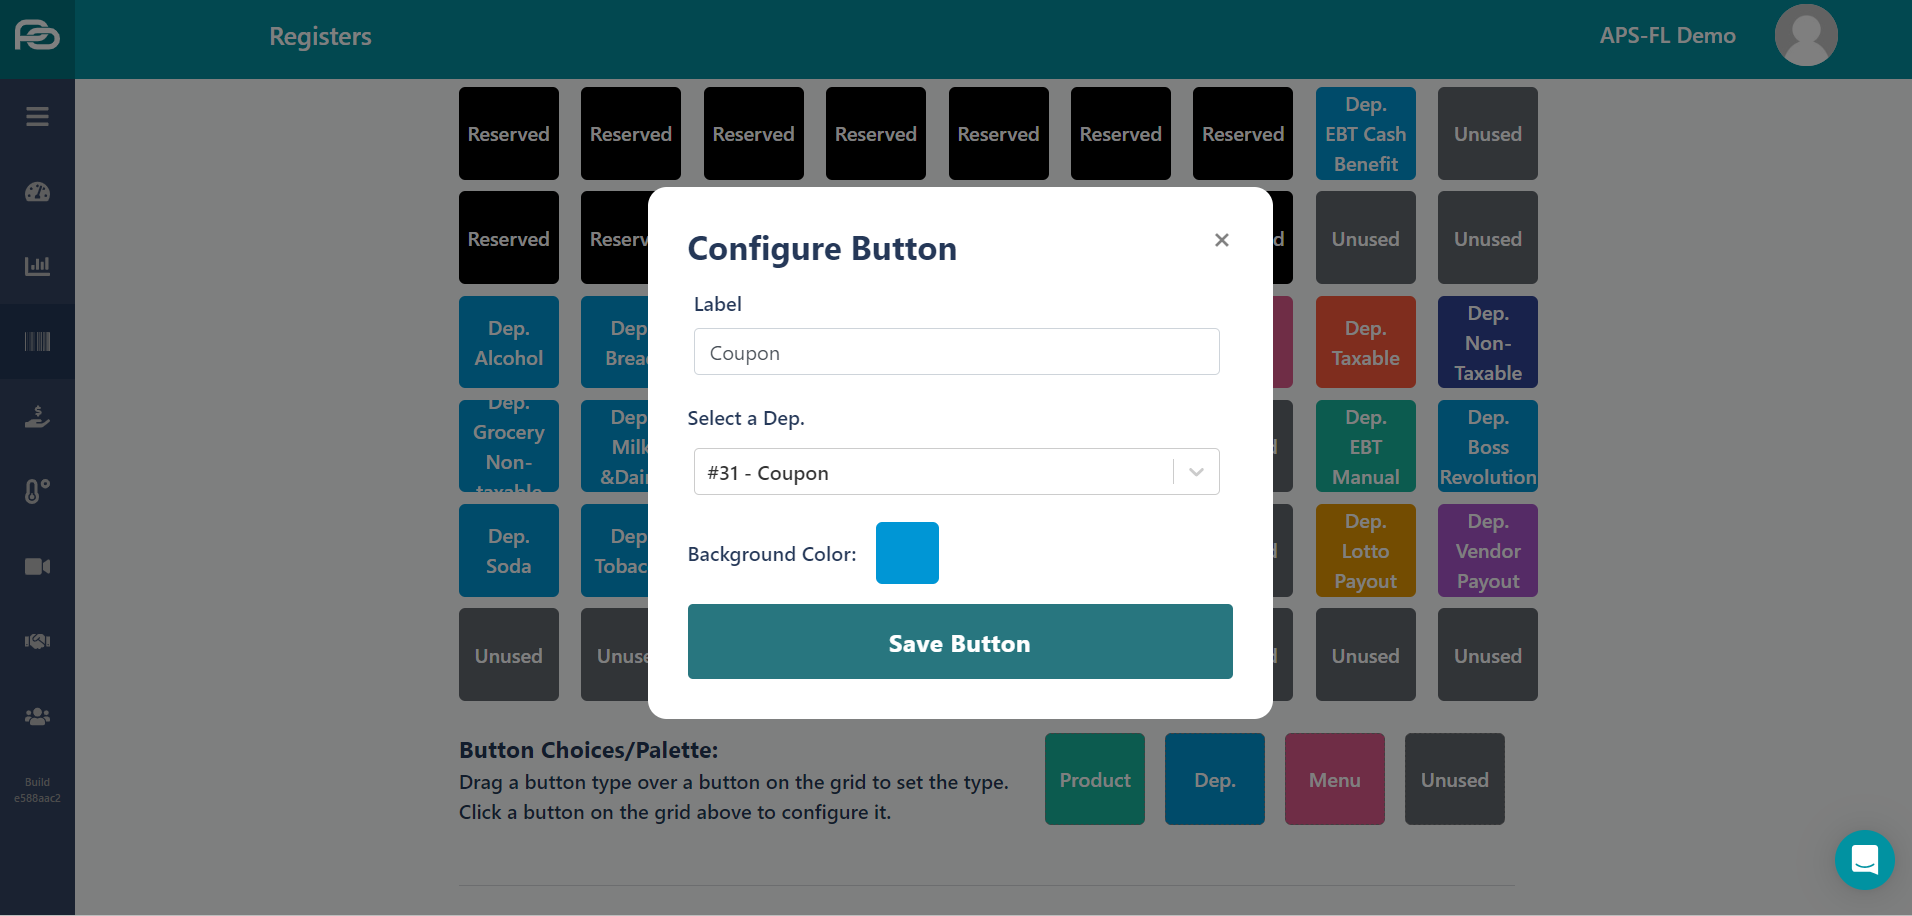
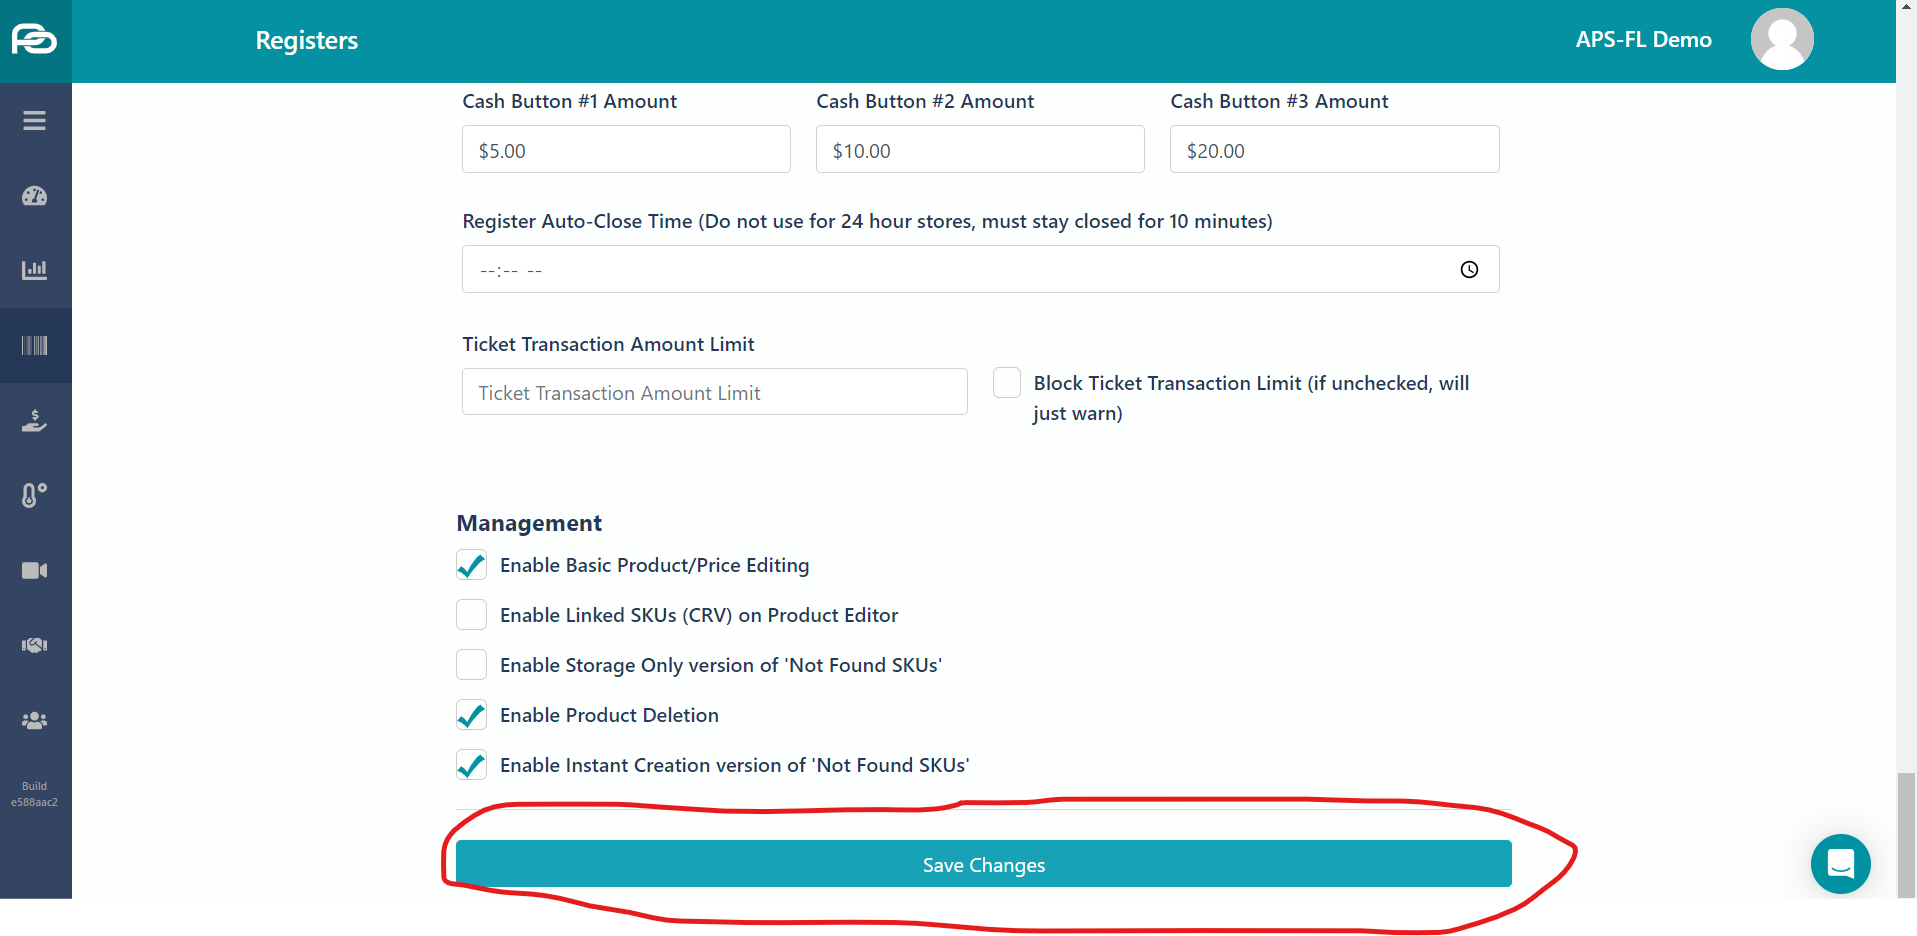
Scroll all the way down and click Save Changes
You're done!
Remember, now that your department is created, you can add coupons as products much quicker on your POS screen. If you don't remember how to do that follow this guide: