You can do this either on your phone or on your computer. We will show you how to do it on your phone first.
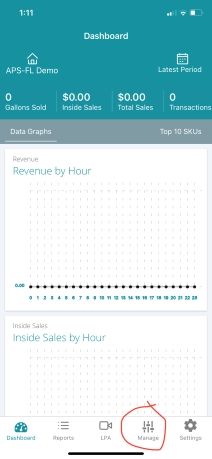
Go to the Petro Outlet app and click Manage.
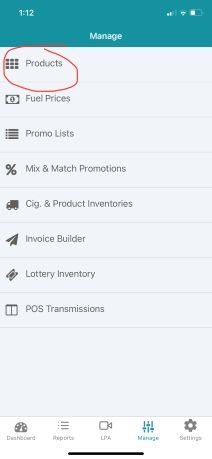
Then click Products.
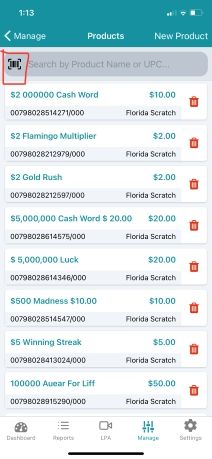
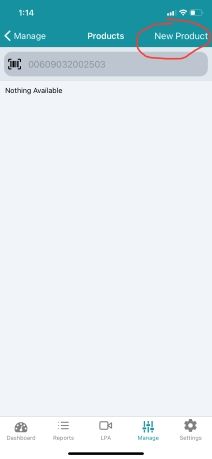
Have your product that you're going to create ready and then click the barcode on the top left.
Then scan your item.
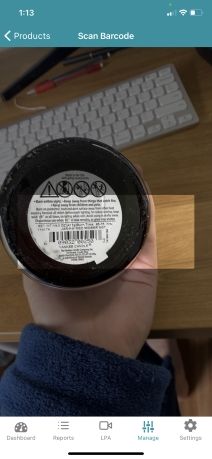
Since it's a new product, it will say nothing is available. So then you will click 'New Product'.
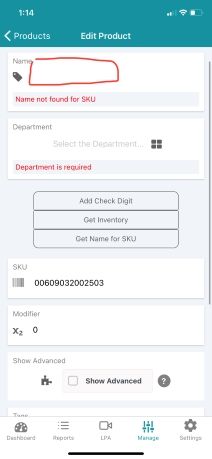
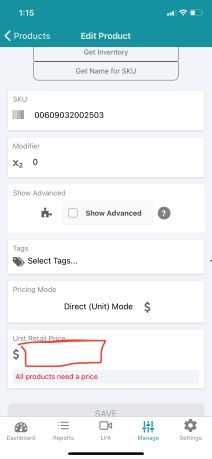
After you click new product, there are a few details you will need to enter. First, put in the products name.
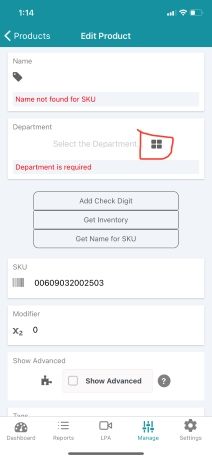
Then select the 4 squares and choose which department it will be under.
You will also notice that the SKU is already entered since we scanned it.
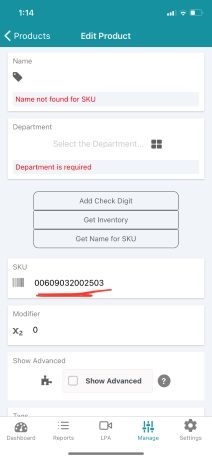
Finally, enter the price of the product.
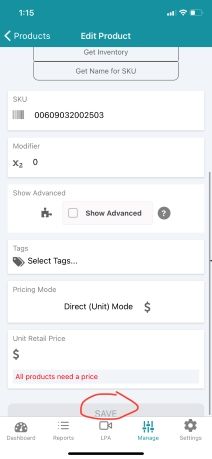
After all of the details are entered, click 'Save'.
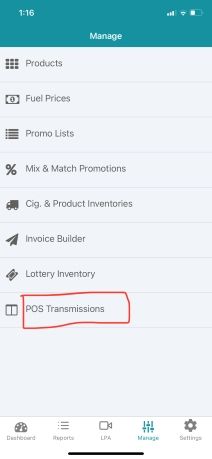
Make sure that you send the POS Transmission through. To do this go to POS Transmissions under 'Manage':
Click New.
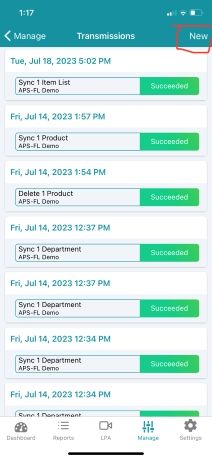
Then click Save Changes.

Here is how to do it on your computer:
Under Store Management, select Product to see the entire product list for the store, if any is already created.

To Create Products
On the top, right of the screen is a “Add Product” button.

Add the name of the product, add the department, add the SKU, and add the unit retail price. (One does not new to manual type the info using the Petro Outlet App from the Google Play Store or the Apple App Store. Using the app after scanning the item, one just needs to add the department and the price.)

Select changes to save the new price. If the register is a SuperSonic POS the change will be automatic. Any other register system will require a new POS Transmission.
The computer portion of this guide was imported from support.petrooutlet.com, written by Mahdi Hussein.